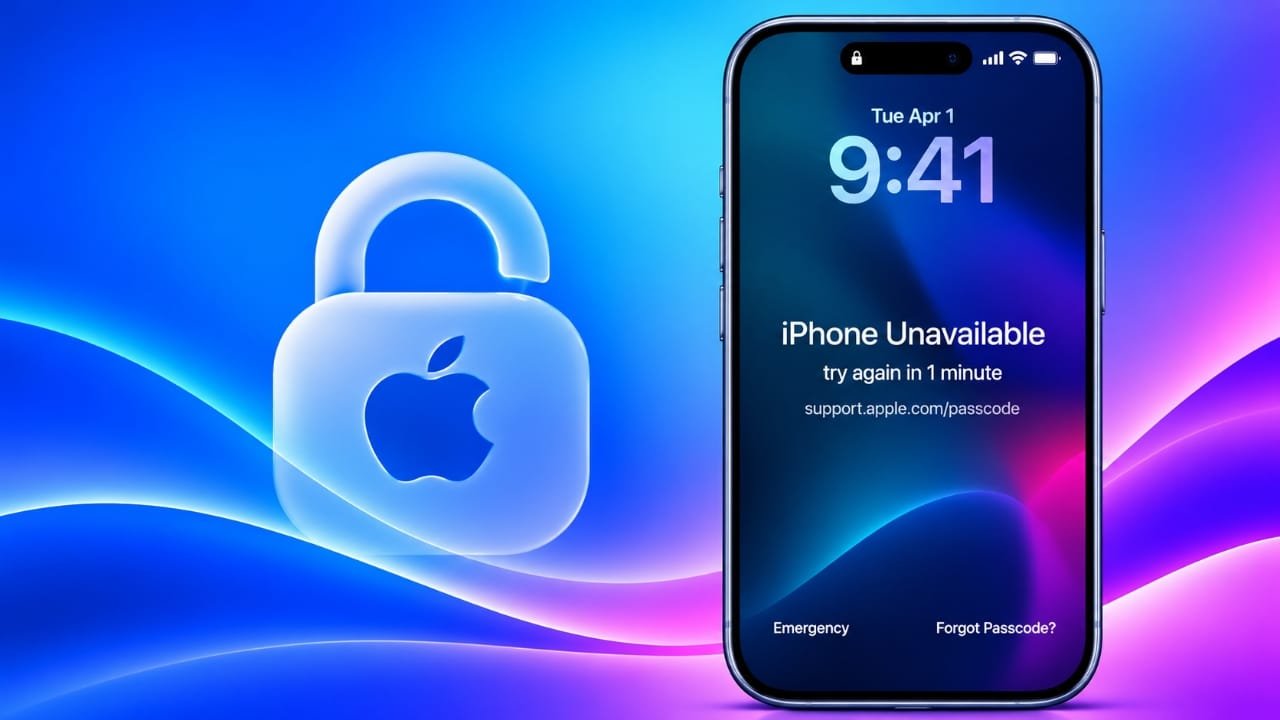
Seeing “iPhone Unavailable” on your screen can be worrying, especially when you need access to your photos, messages, or other personal information. This message usually appears after several incorrect passcode attempts.
The good news is that an unavailable iPhone can often be reset using Apple’s built-in options. Depending on your iOS version and account settings, you may also have the option to use a recently changed passcode instead of immediately erasing the device.
Advertisements
In this guide, we’ll explain why the message appears and cover four ways to regain access to an unavailable iPhone.
Also read: Motorola Edge 70 Neo India Launch Teased: Design, Features and Expected Price
Why Does an iPhone Show “iPhone Unavailable”?
The “iPhone Unavailable” screen is part of Apple’s security system. It appears after too many incorrect passcode attempts and is designed to prevent someone from repeatedly guessing the device passcode.
Some common situations include:
- Entering the wrong passcode several times.
- Forgetting a newly changed passcode.
- Someone accidentally entering incorrect passcodes.
- Face ID or Touch ID becoming temporarily unavailable and requiring the passcode.
At first, the iPhone may display a short waiting period before another attempt is allowed. Repeated incorrect attempts can increase the waiting period, and eventually the device may require a reset.
If you still remember the correct passcode, waiting for the lockout period to finish is usually the simplest option.
If you don’t remember it, you can use one of the recovery methods below.
Important: Most methods for removing a forgotten iPhone passcode erase the data stored on the device. If you recently changed your passcode, check Apple’s previous-passcode recovery option before choosing a full reset.
4 Ways to Reset an iPhone Showing “iPhone Unavailable”
Method 1: Use the “Forgot Passcode?” Option
Best for: People who want to reset the iPhone directly from the device and know their Apple Account password.
Supported iPhones can provide a Forgot Passcode? option on the lock screen. The exact wording and availability depend on the iOS version and device settings.
Steps
- Wait until the Forgot Passcode? option appears on the unavailable screen.
- Tap Forgot Passcode?
- Select the option to begin resetting the iPhone.
- Enter the password for the Apple Account associated with the device.
- Follow the on-screen instructions to erase the iPhone.
- After the reset is complete, set up the device again.
- Restore your information from an available backup, if you have one.
On some older supported iOS versions, the option may appear as Erase iPhone instead.
What you need
This method generally requires:
- An internet connection.
- Access to the Apple Account linked to the iPhone.
- Find My having been enabled before the device became unavailable.
- Enough battery power to complete the process.
The reset removes the data and settings stored locally on the iPhone.
Check the previous passcode first
There is an important exception for eligible devices running newer iOS versions.
If you recently changed your passcode, Apple may allow you to use the previous passcode during a limited period. This can let you create a new passcode without immediately erasing the device.
If this option appears on your iPhone, it is worth trying before choosing an erase option.
Method 2: Restore the iPhone Using Recovery Mode
Best for: Users who have access to a Mac or Windows PC and want to use Apple’s official restoration process.
If you cannot reset the iPhone directly from its lock screen, you can restore it through Recovery Mode.
This method uses a computer to reinstall the iPhone’s software and return the device to its setup state.
How to use Recovery Mode
- Turn off the iPhone.
- Connect the iPhone to a Mac or Windows PC with a compatible cable.
- Use the appropriate button combination for your iPhone model to enter Recovery Mode.
- On a Mac, open Finder. On Windows, use the Apple Devices app where supported.
- Select the iPhone when it appears.
- Choose Restore.
- Wait while the computer completes the restoration.
- Afterward, set up the iPhone again.
The button combination varies between iPhone models, so it’s important to follow the procedure that applies to your particular device.
Things to know
Recovery Mode has a few requirements:
- You need access to a computer.
- The iPhone must remain connected during the restoration.
- The process erases the device’s local data.
- Activation Lock can still require the Apple Account previously associated with the iPhone.
The main advantage is that this is an Apple-supported recovery method and doesn’t require third-party unlocking software.
Method 3: Erase the iPhone Remotely With Find Devices
Best for: Users who have another phone or computer available and already have Find My enabled.
Apple also allows users to remotely erase an iPhone through its Find Devices service.
This can be useful if you don’t have the locked iPhone connected to a computer.
Steps
- Open Apple’s Find Devices service on another device.
- Sign in using the Apple Account connected to the unavailable iPhone.
- Select the affected iPhone from your devices.
- Choose the option to erase the device.
- Confirm the request.
- Wait for the iPhone to receive and complete the erase command.
- Set up the iPhone again after the process finishes.
If the iPhone is currently offline, the erase request may remain pending until the device connects to the internet.
Important limitations
Remote erasing requires the relevant Find My and account settings to have been configured beforehand.
You should also remember that:
- The iPhone’s locally stored data will be erased.
- You need access to the associated Apple Account.
- Activation Lock can remain enabled after the erase.
- You may need the original account credentials during setup.
If you have a recent backup, you can restore your information during the setup process.
Method 4: Use a Third-Party iPhone Unlocking Tool
Best for: Users who prefer a guided computer-based interface instead of manually working through recovery procedures.
Apple’s built-in recovery methods are generally the first options to consider. However, some users may find the Recovery Mode process confusing, particularly when they are unsure which buttons to press or how to continue after connecting the iPhone to a computer.
Third-party utilities such as Fonelora iPhone Unlocker are designed to provide a more guided interface for certain supported iPhone and iPad models.
Depending on the device and software version, such tools may support situations involving:
- Forgotten screen passcodes.
- “iPhone Unavailable” or security lockout screens.
- 4-digit or 6-digit passcodes.
- Devices where Face ID or Touch ID cannot be used because a passcode is required.
However, compatibility can vary by device and iOS version, so users should check the software’s current requirements before starting.
General Process
Step 1: Install the software
Install the supported version of the unlocking utility on a compatible Windows PC or Mac.
Open the application and select the screen-passcode recovery option.
Step 2: Connect the iPhone
Connect the unavailable iPhone to the computer using a suitable USB cable.
Follow the instructions provided by the software to put the device into the required recovery state.
Step 3: Follow the recovery instructions
The program will guide you through the remaining steps.
Keep the iPhone connected until the process has finished. Once the device has been reset, you can go through the normal setup process and restore a backup if one is available.
Important: Third-party unlocking tools may erase the iPhone during the process. They also cannot legitimately remove Apple’s Activation Lock from a device that remains linked to another person’s Apple Account.
Which iPhone Reset Method Should You Choose?
The right option depends on what you have available and whether preserving your data is possible.
| Method | Computer Needed | Apple Account Needed | Local Data Erased | Cost |
|---|---|---|---|---|
| Forgot Passcode? | No | Yes | Usually | Free |
| Recovery Mode | Yes | May be required during activation | Yes | Free |
| Find Devices | No | Yes | Yes | Free |
| Third-party unlocker | Usually yes | May be required during activation | Usually | Depends on software |
If you recently changed your passcode and your iPhone offers a previous-passcode recovery option, try that first because it may allow you to regain access without erasing the device.
Otherwise, Apple’s built-in reset and Recovery Mode options are the safest starting points.
What Happens After You Reset an Unavailable iPhone?
A reset returns the iPhone to a setup state. You’ll need to go through the initial setup process again.
If you have an iCloud or computer backup, you may be able to restore your previous information.
You may also be asked to enter the Apple Account credentials associated with the device because of Activation Lock.
This is an important security feature. A reset does not mean that someone can simply take a lost or stolen iPhone, erase it, and use it without the owner’s account credentials.
Also read: WhatsApp May Soon Let Android Users Share Their Location Directly as a Status
Final Thoughts
The “iPhone Unavailable” message is usually a security response to repeated incorrect passcode attempts rather than an indication that the iPhone is permanently unusable.
If you know the passcode, waiting for the lockout period may be enough. If you’ve forgotten it, check whether the Forgot Passcode? or previous-passcode option is available before choosing a full erase.
When those options aren’t available, you can use Recovery Mode with a Mac or Windows PC or remotely erase the device through Find Devices.
Third-party tools can provide a more guided recovery experience for supported devices, but users should check compatibility carefully and understand that a passcode reset generally means losing locally stored data unless a suitable backup or supported previous-passcode recovery option is available.

Abhi Rajput, founder of EarnAbhi.in, is a tech lover with 6+ years of experience in SEO, digital tools, and smartphone troubleshooting. He writes simple, clear, and useful guides to help people solve real tech problems.