Many users want to run Android apps on a larger screen. Phones are useful, but a computer offers better multitasking, easier typing, and a more comfortable experience. Windows 11 supports Android apps, but the Google Play Store does not come pre-installed.
To use Play Store apps on your PC, you need to complete a few setup steps first. Once finished, you can enjoy apps, games, and other Android content directly on your Windows 11 computer.
Also read: How to Transfer Text Messages (SMS) from Android to Android
Key Highlights
- Check system settings before starting the installation.
- PowerShell can help with the setup process.
- After installation, you can use Android apps more easily on Windows 11.
Requirements Before Installing Google Play Store
Before you begin, make sure your Windows 11 PC is ready.
1. Update Windows 11
Install the latest Windows updates for better compatibility and smoother performance.
- Open Settings
- Go to Windows Update
- Download and install pending updates
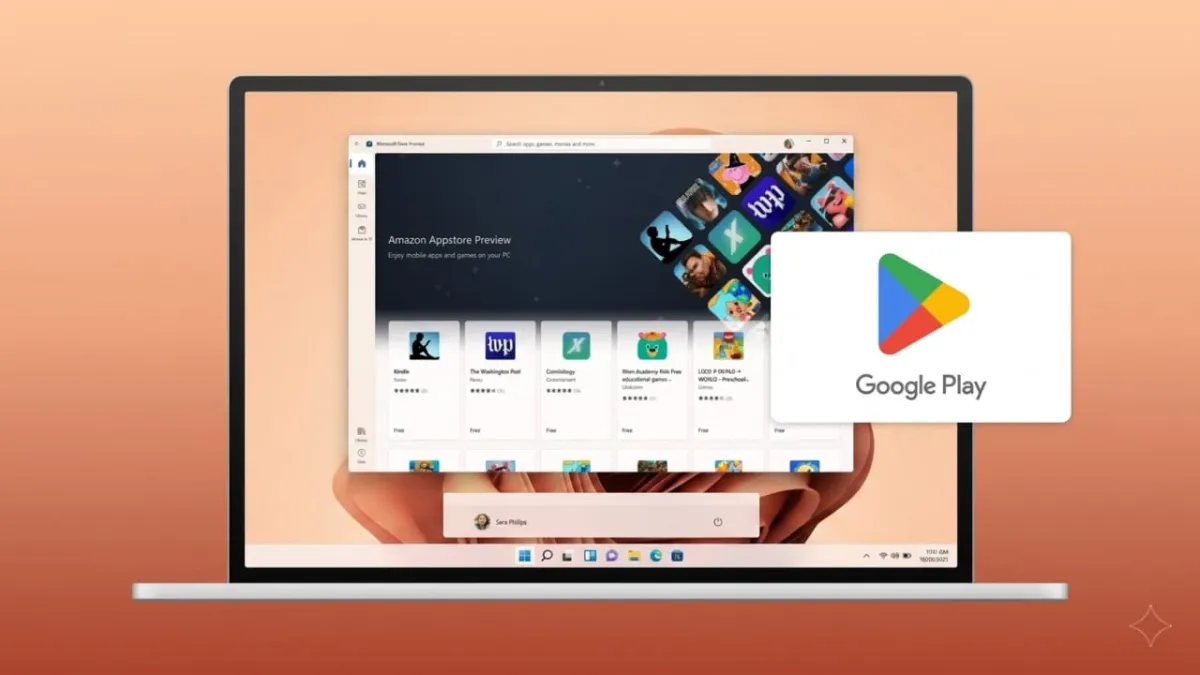
2. Install Amazon Appstore
Windows uses the Windows Subsystem for Android, which is connected with the Amazon Appstore.
- Open Microsoft Store
- Search for Amazon Appstore
- Install it if it is not already available
3. Check Region Settings
Some users may need to change their system region to the United States for better app support.
4. Enable Virtualization
Virtualization must be enabled to run Android apps.
- Open Task Manager
- Go to the Performance tab
- Look for Virtualization
If it shows disabled:
- Enter BIOS/UEFI settings during startup
- Enable Intel VT-x or AMD-V
- Save changes and restart the PC
5. Update Microsoft Store Apps
Open Microsoft Store, go to Library, and update all apps.
After completing these steps, restart your computer.
Also read: WhatsApp Custom Status Lists: Share Updates Only With the Right People
Steps to Install Google Play Store on Windows 11
One popular method uses PowerShell tools and scripts to complete the setup.
Step 1: Open PowerShell
- Click Start
- Search for PowerShell
- Right-click it
- Choose Run as Administrator
Step 2: Run the Required Command
Use a trusted setup script from a reliable source and run it inside PowerShell.
Wait for the setup window to appear.
Step 3: Continue Installation
Follow the on-screen instructions carefully.
Basic Process Includes:
- Select the Google Play Store installation option
- Allow Virtual Machine Platform if requested
- Confirm installation prompts
- Replace the current Android subsystem if needed
- Download required files
- Choose the correct file location
- Wait for automatic installation to finish
Once complete, the Google Play Store should appear in the Start menu.
Step 4: Sign In
Open Play Store and sign in with your Google account.
You can then install:
- Android apps
- Games
- Books
- Movies
Extra Google Features on Windows
After setup, some Google tools may also improve your experience.
You can search files, apps, and the web from one place. Some tools may offer smart search suggestions, image search options, and quick translations.
Keyboard shortcuts like Alt + Space may also open search features on supported apps.
If Play Store Stops Working
Sometimes Windows updates may cause issues. If that happens:
- Restart your PC
- Check updates again
- Reinstall the setup if required
- Ensure virtualization is still enabled
Also read: WhatsApp May Introduce Auto-Hide Option for Business Chats
Final Words
Installing Google Play Store on Windows 11 lets you use Android apps directly on your computer. It is a useful option for gaming, productivity, and entertainment. Keep your system updated and ensure virtualization stays enabled for the best experience.

Abhi Rajput, founder of EarnAbhi.in, is a tech lover with 6+ years of experience in SEO, digital tools, and smartphone troubleshooting. He writes simple, clear, and useful guides to help people solve real tech problems.