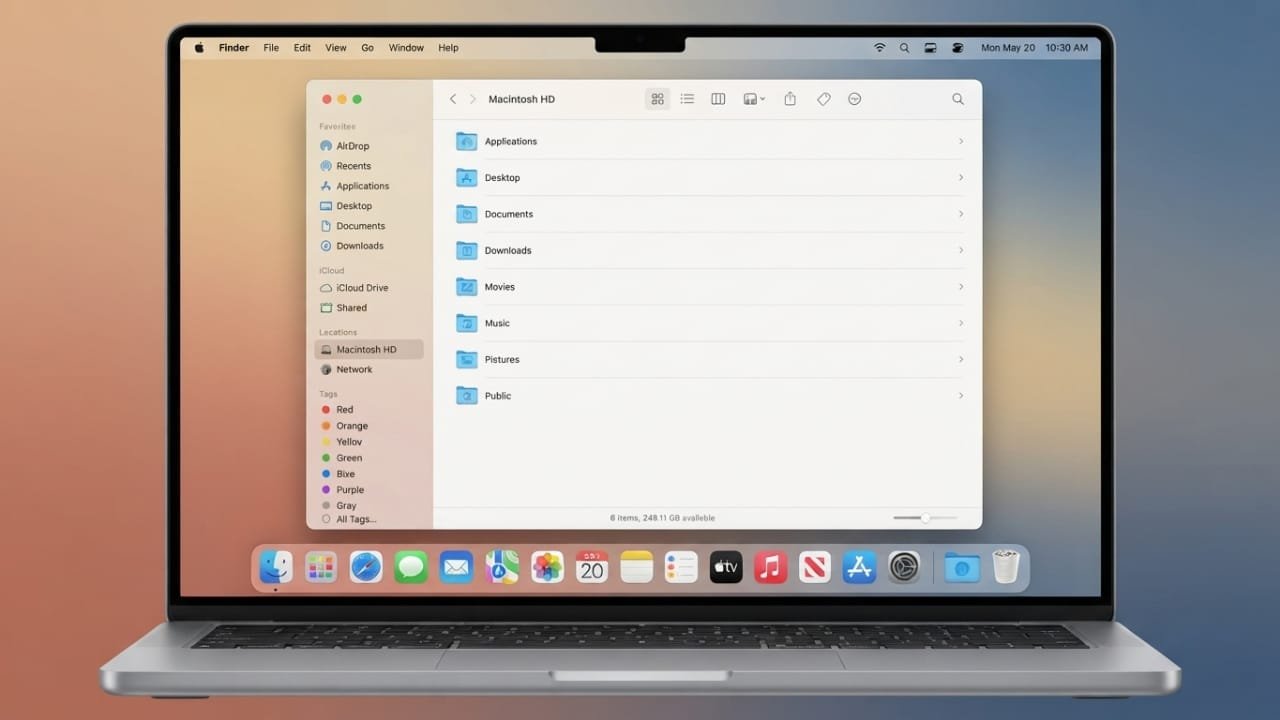
The Finder sidebar on a Mac gives you quick access to folders, drives, tags, and other useful locations. If it contains items you rarely use, finding the things you need can become harder.
Advertisements
The good news is that you can easily change the sidebar to match the way you work. You can add useful shortcuts, remove unnecessary ones, change their order, and even hide the sidebar when you want more space.
Also read: How to Change Apple Watch Activity Ring Goals by Day
Key Points
- Customize the Finder sidebar to access files faster.
- Add folders, drives, and other frequently used locations.
- Remove shortcuts that you no longer need.
- Rearrange sections and adjust the sidebar width.
- Keep the sidebar simple and easy to navigate.
How to Customize the Finder Sidebar From Settings
Open Finder Settings
Start by opening Finder from the Dock. Once Finder is open, look at the menu bar at the top of the screen and click Finder.
Select Settings from the menu. In the settings window, open the Sidebar section.
You will see several groups of options, such as Favorites, iCloud, Locations, and Tags. These settings control which items appear in the Finder sidebar.
Select the Items You Want
Go through the available options and enable the ones you use regularly. If there is an item you do not need, simply remove its checkmark.
For example, you might keep your Documents folder, Downloads, connected drives, or iCloud locations visible while leaving less useful options disabled.
You can return to these settings whenever you want and change your selection.
How to Show or Hide the Finder Sidebar
Sometimes you may want more room for viewing files. Finder lets you hide the sidebar without changing any of its settings.
Open a Finder window and click View in the menu bar. Then select Hide Sidebar.
The sidebar will disappear, giving the main Finder window more space. To bring it back, open the View menu again and choose Show Sidebar.
Add Useful Shortcuts to the Finder Sidebar
Add Frequently Used Folders
You can place folders that you open often in the Favorites section. Simply drag a folder toward the sidebar and drop it in the desired location.
This can be useful for work folders, project directories, personal files, or any other location you access frequently.
You can also add supported drives and network locations when they are part of your regular workflow.
Add Files or Applications
Finder also allows you to create shortcuts to individual files and applications in the sidebar.
When dragging an item to the Favorites section, hold the Command (⌘) key while placing it there. This creates a shortcut instead of moving the original item.
The original file or application stays in its existing location.
Remove Shortcuts You No Longer Need
A crowded sidebar can make Finder harder to use. If you have shortcuts that are no longer useful, you can remove them.
Drag the unwanted shortcut away from the sidebar. When the removal indicator appears, release it.
Removing the shortcut does not delete the original file or folder. It only removes its quick-access entry from the Finder sidebar.
Keep the Sidebar Organized
Change the Order of Items
You do not have to keep your shortcuts in their default order. Drag items up or down to arrange them according to your preferences.
It can be helpful to keep your most frequently used folders near the top so they are easier to reach.
Adjust the Sidebar Width
If folder names are getting cut off, you can make the sidebar wider. Move the divider between the sidebar and the main Finder area, then drag it until the width feels comfortable.
A wider sidebar can make long folder names easier to read, while a narrower one leaves more room for your files.
Manage Tags and Sections
Finder tags can also be managed through the Sidebar settings.
Open Finder Settings and select the Tags section. Keep the tags you actually use and remove unnecessary ones from the sidebar.
You can also organize the available items so that the sidebar contains only the sections that are useful to you.
Some sections can be collapsed when you do not need to see their contents. This helps keep the Finder window less cluttered.
Make Better Use of Finder
Customizing the sidebar is only one way to improve file management on a Mac. Finder also includes several viewing options that can make it easier to work with files.
Depending on what you are doing, you can switch between Icon, List, Column, and Gallery views.
The search feature can help you locate files without manually checking multiple folders. You can also rename files, add tags, and use sharing options directly from Finder when supported.
Also read: How to Translate a Conversation on Apple Watch: Step-by-Step Guide
Final Thoughts
A well-organized Finder sidebar can make everyday file management more convenient. Instead of keeping every available option visible, focus on the folders, drives, and locations you actually use.
Adding useful shortcuts, removing unnecessary entries, and arranging items in a sensible order only takes a few minutes. These small changes can make Finder feel cleaner and easier to navigate whenever you work on your Mac.

Abhi Rajput, founder of EarnAbhi.in, is a tech lover with 6+ years of experience in SEO, digital tools, and smartphone troubleshooting. He writes simple, clear, and useful guides to help people solve real tech problems.
Advertisements