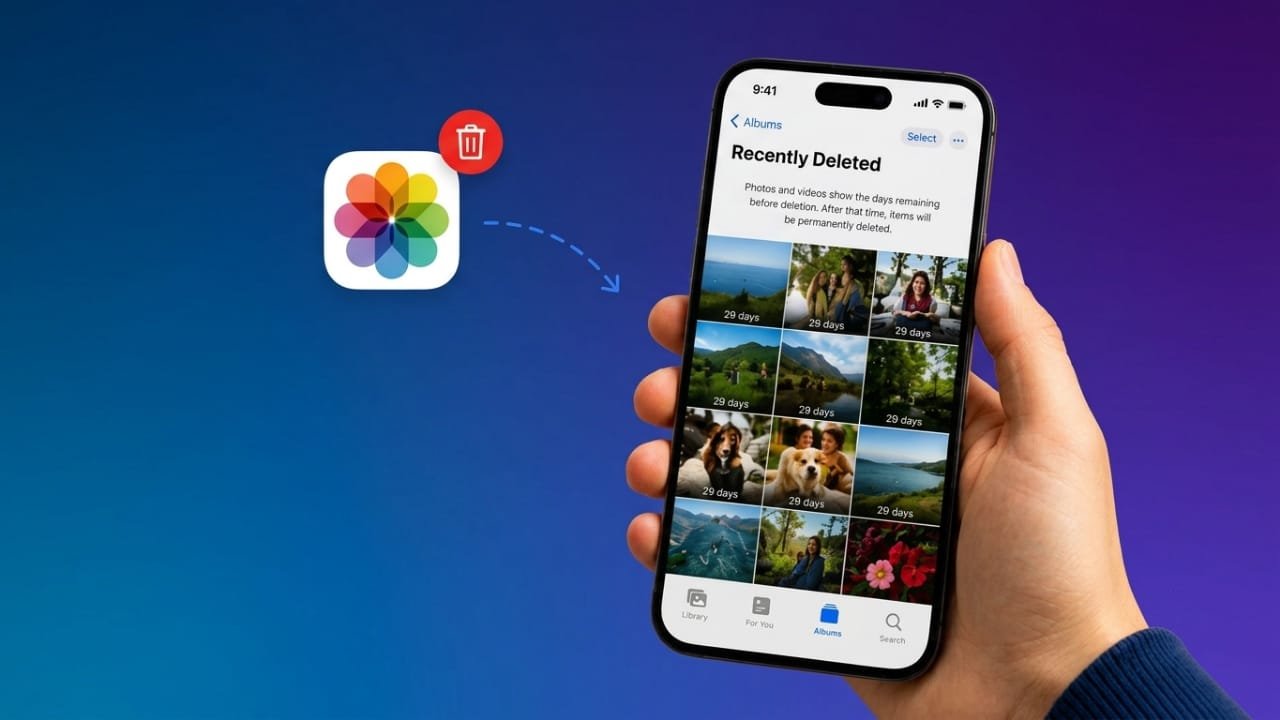
Losing a photo by accident is one of those small heart-drop moments. Maybe it was a picture of your kid’s first steps, a screenshot you needed for work, or a shot from a trip you’ll never repeat. The good news? Deleting a photo on your iPhone or iPad usually doesn’t erase it right away. There are several places it might still be hiding. Here’s a simple, step-by-step guide to tracking it down.
Also read: How to Check Training Load on Apple Watch: Step-by-Step Guide
Advertisements
First, a Quick Word on How Deletion Actually Works
Most people assume that once a photo disappears, it’s gone for good. That’s usually not true.
When you delete something from your Photos app, it doesn’t vanish instantly. Instead, it gets moved into a holding area called Recently Deleted, where Apple keeps it for up to 30 days. That gives you a decent window to change your mind.
Things get a little trickier if you use iCloud Photos, since your entire photo library stays in sync across every device signed into your Apple Account. That means a deletion on one device can quietly show up on all your other devices too.
It also helps to know the difference between iCloud Photos and an iCloud Backup. iCloud Photos keeps your photo library synced live, while a backup is more like a saved snapshot of your device from a specific moment in time. Knowing which one applies to your situation will save you a lot of guesswork.
With that out of the way, here are six places to check before you assume the photo is gone forever.
1. Check the Recently Deleted Folder First
This should always be your starting point, and in most cases, it solves the problem in under a minute.
- Open the Photos app and tap Albums.
- Scroll down to the Utilities section and tap Recently Deleted.
- Tap View Album, then confirm with Face ID, Touch ID, or your passcode.
- Choose the photos you want back.
- Tap the three-dot menu, select Recover, then confirm by tapping Recover Photo.
This method costs nothing, works instantly, and doesn’t require restoring anything. If the photo isn’t sitting in this folder, don’t panic yet — keep reading.
2. Look for It in iCloud Photos
If the photo has already vanished from Recently Deleted, your next stop is iCloud. There’s a chance a copy still exists there, or on another Apple device tied to the same account.
Before doing anything else, disconnect the device where the photo went missing from Wi-Fi or cellular data. This stops it from syncing further and possibly overwriting anything recoverable.
Then, from a computer or another device:
- Go to iCloud.com in your browser and log in.
- Click the Photos icon.
- Check the Recently Deleted section in the left sidebar.
- If you spot your photo, select it and hit Recover or download it right away.
Keep in mind: if it’s been more than 30 days since deletion, this folder probably won’t have it anymore.
Quick tip: If you own another older iPhone, iPad, or Mac that’s signed into the same Apple ID but hasn’t gone online in a while, check its Photos app too. A device that hasn’t synced recently might still be holding onto the photo.
3. Restore from an iCloud Backup (For Deletions Older Than 30 Days)
Once a photo is past the 30-day mark and nowhere to be found, an iCloud backup might be your best shot — assuming one exists from before the photo disappeared.
Fair warning: restoring a backup isn’t selective. It replaces everything currently on your device with the data from that older backup, so back up anything important first (save it to a computer or another cloud service).
To check for a usable backup:
- Open Settings, tap your name, then go to iCloud > iCloud Backup.
- Look for a backup date that’s earlier than when the photo was deleted.
If you find one:
- Erase your device to bring it back to the initial setup screen.
- Walk through setup until you reach Apps & Data.
- Choose Restore from iCloud Backup.
- Sign in and pick the backup dated before your photo went missing.
- Stay connected to Wi-Fi and let the restore finish completely.
Once it’s done, open Photos and check if your image made it back. This process can take a while, so be patient.
Heads up: If iCloud Photos is turned on, your photo library might sync separately from your regular device backups. That means this method won’t always bring back something already deleted from iCloud Photos itself.
4. Check for a Local Backup on Your Mac
No iCloud backup? If you’ve ever backed up your device to a Mac using a cable, there may be a local copy sitting on your computer.
To check:
- Plug your iPhone or iPad into your Mac.
- Open Finder and select your device from the sidebar.
- Look at the available backups and their dates.
- Find one made before your photo disappeared.
If you find a good match:
- Keep your device connected.
- Click Restore Backup in Finder.
- Select the correct backup by date and size.
- Enter the backup password if it’s encrypted.
- Click Restore and wait it out, keeping the device connected until it finishes restarting and syncing.
Afterward, open Photos to see if your picture returned.
Tip: Windows users can do something similar through the Apple Devices app, or iTunes if you’re using an older setup.
5. Search Your Messages, Email, and Chat Apps
This one gets overlooked constantly, but it works surprisingly often. Think about whether you ever sent that photo to someone.
Check Messages: Look through iMessage threads, shared albums, group chats, and old conversations. If you find it, you can usually save it straight back into your photo library.
Check other messaging apps too, such as:
- Telegram
- Messenger
- Signal
- Any other apps you regularly use to share photos
Check your email by searching for attachments, the photo’s file name, relevant dates, or the names of people you might have sent it to.
The version you recover might be a bit compressed compared to the original, but a slightly lower-quality copy still beats losing the photo entirely.
6. Check Third-Party Cloud Storage Apps
If you’ve ever set up an app with automatic photo backup — even years ago and forgotten about it — it’s worth checking.
Look through:
- Google Photos
- Microsoft OneDrive
- Dropbox
- Amazon Photos
- Any other cloud service you’ve used
Check the main library, trash or recently deleted folders, archived photos, and any auto-upload camera folders. Try sorting by date or location to speed things up. If you find the photo, download it immediately so you don’t lose it a second time.
What If the Photo Is Truly Gone?
If you’ve gone through every option — Recently Deleted, iCloud, backups, messages, other devices, cloud apps — and still come up empty, it’s possible the photo simply isn’t recoverable anymore. It’s a frustrating outcome, but it happens.
At this point, avoid taking risky shortcuts like:
- Repeatedly factory-resetting your device
- Installing a pile of random “recovery” apps
- Handing your Apple Account credentials to sketchy third-party software
- Paying upfront for tools that promise guaranteed results
Is Photo Recovery Software Worth Trying?
Here’s the honest take: be cautious of any tool claiming it can recover every deleted photo, no exceptions. Modern iPhones are built with strong encryption, which makes deep data recovery far more limited than it used to be on old-school hard drives.
Some recovery tools can genuinely help — but usually only when a copy already exists somewhere accessible, like backups or local storage. There’s no universal fix that bypasses Apple’s security entirely.
Before trying any recovery software, ask yourself:
- What is this tool actually scanning — the device itself, or just backups?
- Does it support your specific iOS or iPadOS version?
- Can you preview recoverable files before paying?
- Does the company have a solid, verifiable reputation?
- What kind of access or permissions is it asking for?
Steer clear of any software that demands payment before showing you what it can actually recover, or that makes bold claims about cracking Apple’s security.
A few commonly mentioned options in this space include D-Back iPhone Data Recovery, PhoneRescue, and EaseUS. Most are paid tools, so research them thoroughly before buying anything.
How to Avoid This Stress Next Time
Once you’ve been through the recovery process, prevention starts to look a lot more appealing. A few habits worth building:
- Don’t rely on just one backup. Spread your important photos across your device, a computer backup, and at least one cloud service.
- Back up before big cleanups. If you’re about to delete a bunch of duplicates or old screenshots, back up first — it’s easy to tap the wrong photo by mistake.
- Check Recently Deleted regularly, especially after a big photo cleanup, since it’s not a permanent safety net.
- Confirm iCloud syncing is active by going to Settings > your name > iCloud > Photos, and making sure syncing is switched on.
A good rule of thumb: if losing a certain photo would genuinely upset you, make sure it exists in at least two separate places.
Also read: How to Set Up Face ID on iPhone 16: Easy Step-by-Step Guide
Final Thoughts
Deleting a photo by accident doesn’t have to mean it’s lost for good. Start with the easy wins — Recently Deleted and iCloud — before working your way through backups, messaging apps, and cloud storage. And if none of that brings it back, let it be a reminder to build better backup habits going forward, so the next slip of the finger doesn’t turn into a crisis.

Abhi Rajput, founder of EarnAbhi.in, is a tech lover with 6+ years of experience in SEO, digital tools, and smartphone troubleshooting. He writes simple, clear, and useful guides to help people solve real tech problems.