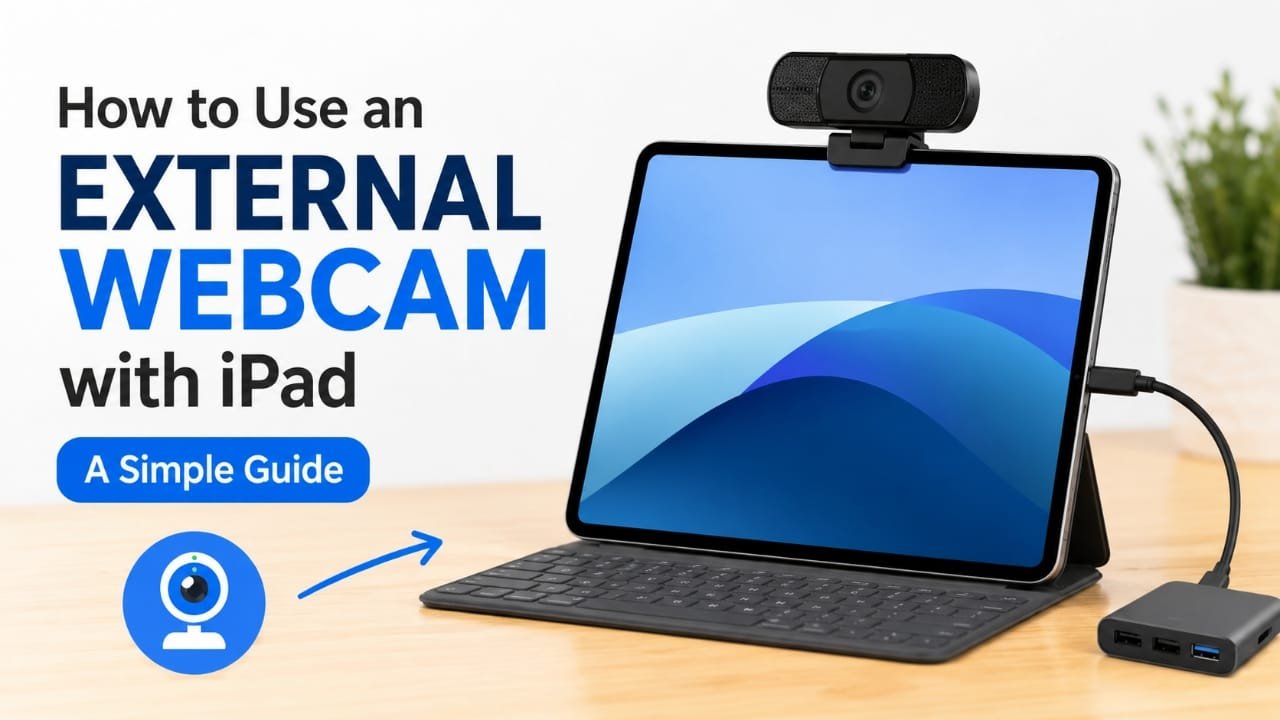
If you’re looking for better video quality on your iPad, using an external webcam is a great option. Whether you’re attending online meetings, making video calls, teaching classes, or recording content, an external camera can provide improved image quality and more flexible positioning than the built-in camera.
The good news is that many modern iPads support external webcams, and the setup process is straightforward. With the right hardware and a compatible app, you can start using your webcam in just a few minutes.
Advertisements
Also read: How to Get Back Deleted Photos on iPhone or iPad (6 Simple Fixes)
Quick Overview
Before getting started, keep these key points in mind:
- Use an iPad running iPadOS 17 or later for the best compatibility.
- Connect a supported USB webcam using the correct adapter, cable, or USB-C hub.
- Open a compatible app such as FaceTime, Zoom, Microsoft Teams, or Google Meet.
- If the webcam is not selected automatically, choose it from the app’s camera settings.
- If the webcam doesn’t receive enough power, connect it through a powered USB hub.
Step-by-Step Guide to Using an External Webcam with an iPad
Step 1: Confirm Your iPad Is Compatible
Start by checking whether your iPad supports external cameras.
Open Settings > General > About and verify your iPadOS version. For the smoothest experience, install iPadOS 17 or a newer release. Also check whether your device has a USB-C or Lightning connector, as this determines the adapter you’ll need.
Step 2: Get the Required Accessories
You’ll need a compatible USB webcam and the proper connection accessories.
- USB-C iPads: A USB-C adapter or USB-C hub is usually enough.
- Lightning iPads: A Lightning-to-USB camera adapter generally provides the most reliable connection.
- If your webcam requires more power, use a powered USB hub to ensure stable performance.
Step 3: Connect the Webcam
Attach the webcam to your adapter or hub, then connect everything to your iPad.
Give the device a few moments to detect the camera. Some webcams will show a power light, while others remain inactive until a supported app starts using them.
Step 4: Open a Supported App
Launch an app that works with external cameras, such as:
- FaceTime
- Zoom
- Microsoft Teams
- Google Meet
- Other compatible video conferencing or recording apps
Many apps automatically switch to the connected webcam when it is detected.
Step 5: Choose the External Camera
If the app continues using the built-in camera, open its video or camera settings.
Look for the list of available cameras and select your external webcam. After switching, the preview should display the new camera feed.
Step 6: Adjust and Test Your Setup
Place the webcam where it gives the best viewing angle. Positioning it at eye level usually creates a more natural appearance during video calls.
Before joining an important meeting or recording, check:
- Video quality
- Camera angle
- Lighting
- Audio source, especially if the webcam includes a built-in microphone
A quick test helps avoid unexpected issues later.
If Your Webcam Doesn’t Work
If the camera isn’t detected immediately, try these common solutions.
Use a Powered USB Hub
Some webcams need more power than the iPad can provide through a direct connection. A powered hub often solves connection or power problems.
Test Another App
Not every application handles external webcams the same way. If one app doesn’t recognize the camera, try another supported app to see if the issue is app-specific.
Prefer a USB-C Webcam
If you’re using a recent iPad with USB-C, a USB-C webcam may offer a simpler connection with fewer adapters.
Check Camera Permissions
Go to Settings > Privacy & Security > Camera and confirm that the app has permission to access the camera.
Install the Latest Software
Keeping your iPad updated helps improve compatibility with external accessories and may resolve connection issues.
Frequently Asked Questions
Can every iPad use an external webcam?
No. Support depends on both the iPad model and the version of iPadOS installed. Newer USB-C iPads generally provide the best experience.
Do I need a special webcam?
No. Many standard USB webcams work well as long as you use the correct adapter and your setup provides enough power.
Why isn’t my webcam turning on?
The problem is often caused by insufficient power, an incompatible adapter, outdated software, or an app that doesn’t support external cameras. Using a powered USB hub can often resolve power-related issues.
Helpful Tips
- Keep your iPad updated to the latest version of iPadOS.
- Test your webcam before important meetings or recordings.
- Use a powered USB hub if the connection is unstable.
- Place the webcam at eye level for a more natural appearance.
- A wide-angle webcam is useful when more than one person needs to fit in the frame.
- Check camera settings in each app, as different apps may remember different camera selections.
- USB-C iPads generally require fewer adapters and offer a smoother setup experience.
Also read: PhonePe Brings UPI 123Pay to Feature Phones, Enabling Offline Digital Payments
Final Thoughts
Connecting an external webcam to an iPad is easier than many people expect. With a compatible iPad, the right adapter, and a supported app, you can enjoy better video quality for meetings, online classes, live streaming, and content creation.
If your webcam isn’t recognized immediately, don’t assume it’s faulty. Most connection problems are related to power, software, or settings, and they can usually be fixed with a few simple adjustments.

Abhi Rajput, founder of EarnAbhi.in, is a tech lover with 6+ years of experience in SEO, digital tools, and smartphone troubleshooting. He writes simple, clear, and useful guides to help people solve real tech problems.